Documentation
Absorption Study
Adjust Stop Target Study
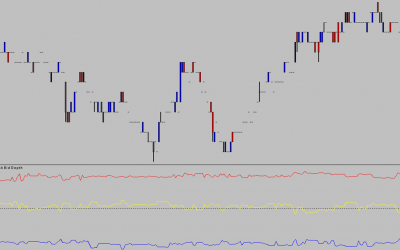
Ask Bid Depth Imbalance Study
Ask Bid Depth Study
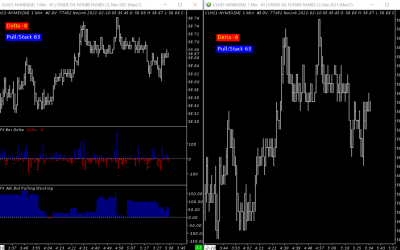
Ask Bid Pulling & Stacking Study
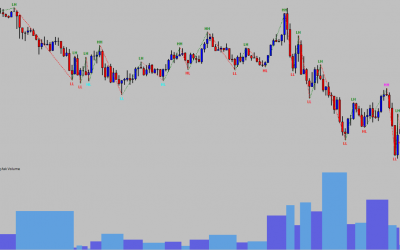
Ask Bid Volume Study
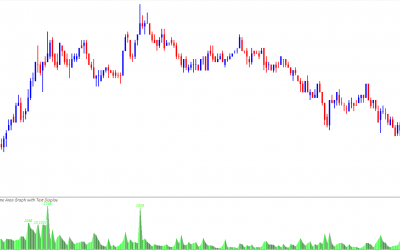
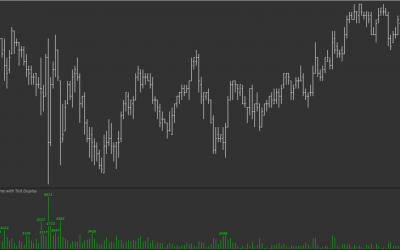
Ask Volume Area Graph with Text Display Study
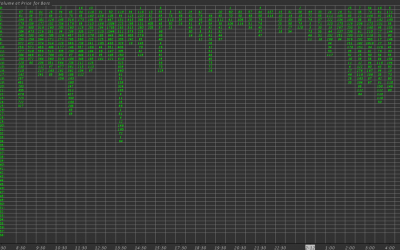
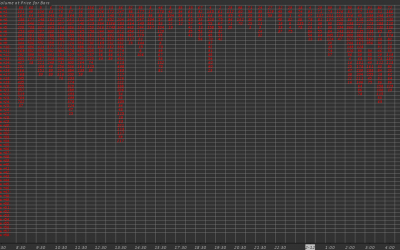
Ask Volume at Price for Bars Study
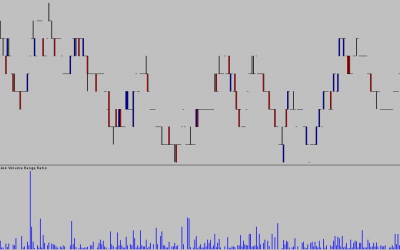
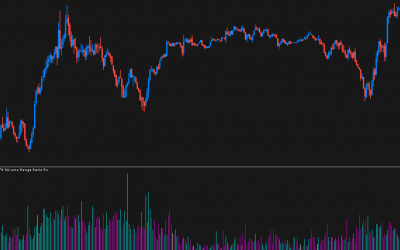
Ask Volume Range Ratio Study
Ask Volume with Text Display Study
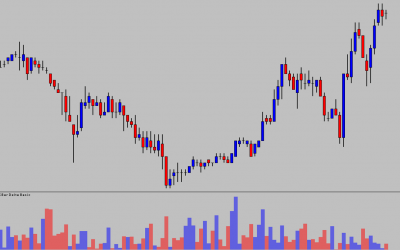
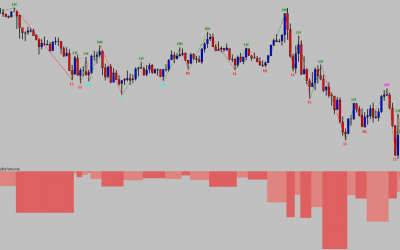
Bar Delta Basic Study
Bar Delta Imbalance Study
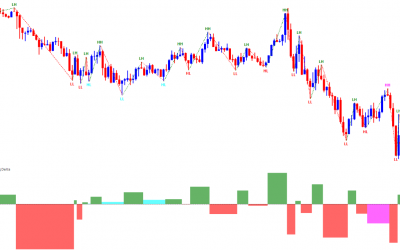
Bar Delta Study
Bar Delta Surge Study
Bid Volume Area Graph with Text Display Study
Bid Volume at Price for Bars Study
Bid Volume Range Ratio Study
Bid Volume with Text Display Study
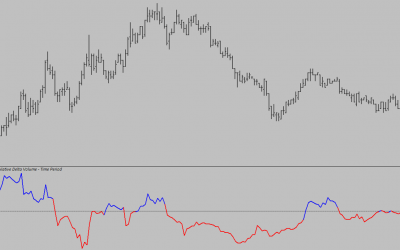
Cumulative Delta – Time Period Study
Cumulative Delta Study
Cumulative Filtered Market Orders Study
Cumulative Filtered Stop Orders Study
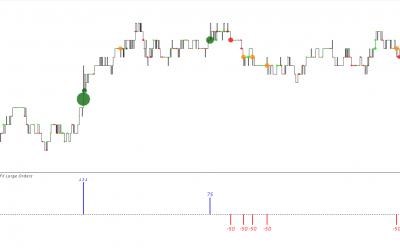
Cumulative Large Orders Study
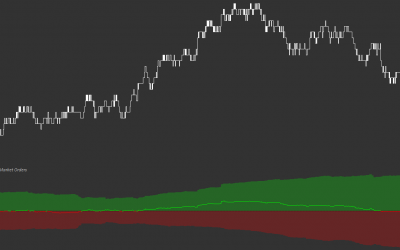
Cumulative Market Orders Study
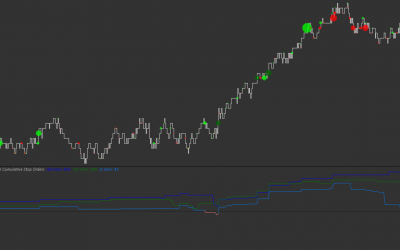
Cumulative Stop Orders Study
Delta Colored Bars Study
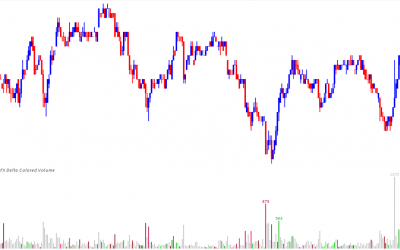
Delta Colored Volume Study
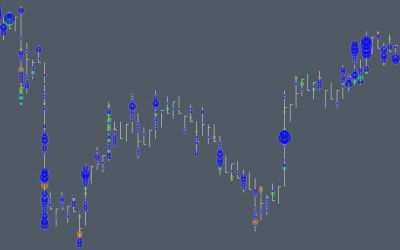
Delta Dots – LW Study
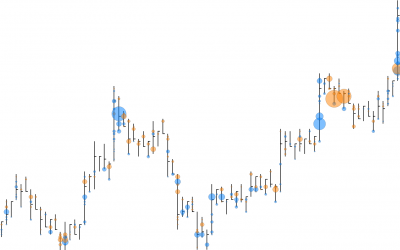
Delta Dots Study
Delta Volume at Price for Bars Study
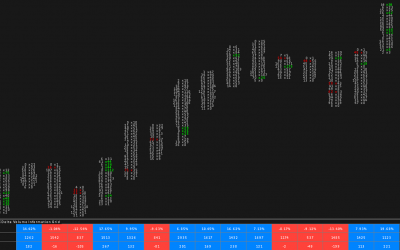
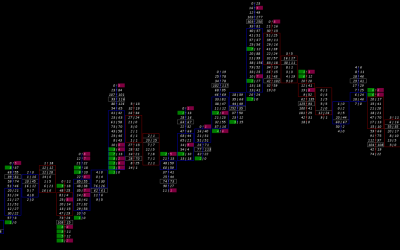
Delta Volume Information Grid Study
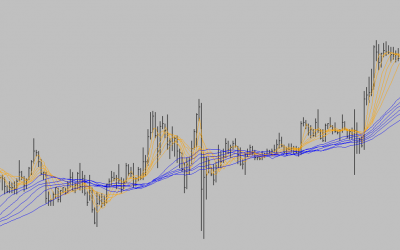
Guppy Multiple Moving Average Study
Imbalance High Low Study
Imbalance Study
Large Orders Study
Multiple Moving Averages Study
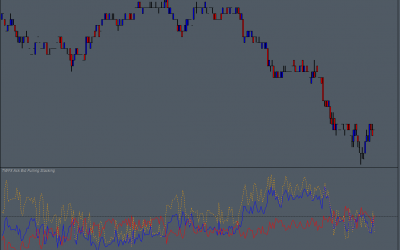
Pace of Tape Study
Pace of Trades Study
POC per Bar Moving Average Study
POC per Bar Study
Single Print High Low Study
Single Print Study
Stacked Ask Bid Volume Ex Study
Stacked Ask Bid Volume Study
Stop Orders Study
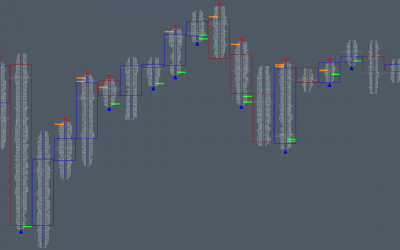
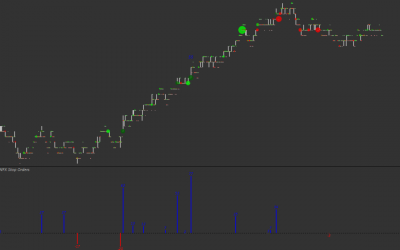
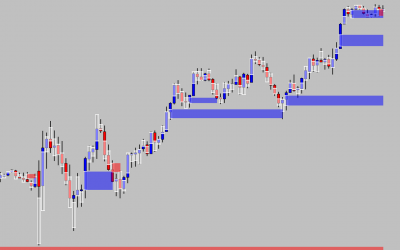
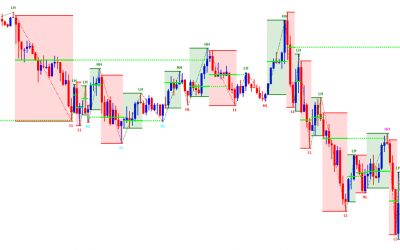
Swing Box Study
Swing Delta Study
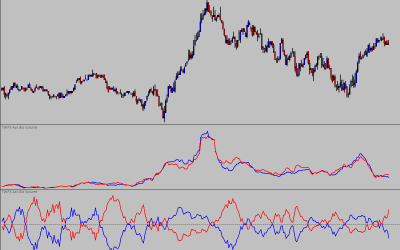
Swing Volume Study
Taper Volume Study
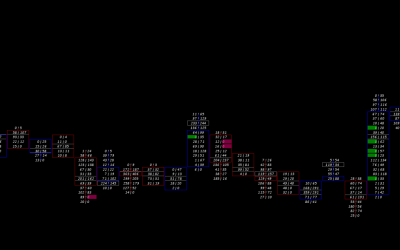
Text Display for Study from Chart Study
Thin Prices Study
Total Volume at Price for Bars Study
Trade Pulse Bars Study
Trade Pulse Study
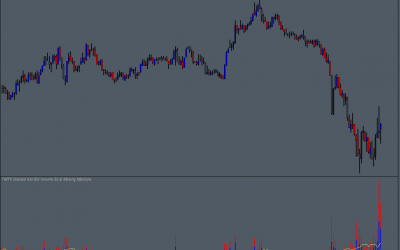
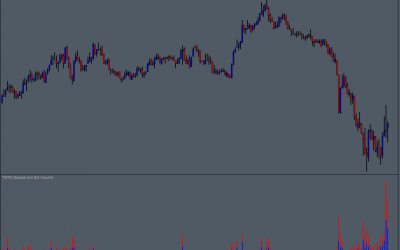
Trade Screen Shot Study
Trade Tape Chart Overlay Study
Trade Tape Chart Study
Trade Tape Ex Study
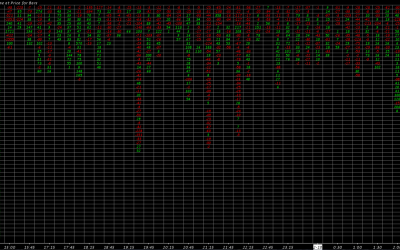
Trade Tape Study
Trade Tape Vertical Study
Trader Traffic Light Study
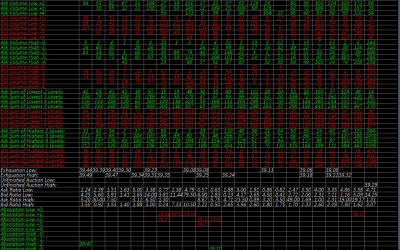
Unfinished Auctions Study
Value Area for Bars Ex Study
Value Area for Bars Filtered Study
Value Area for Bars Study
Volume Area Graph with Text Display Study
Volume at Price and Orderflow Study
Volume at Price for Bars Study
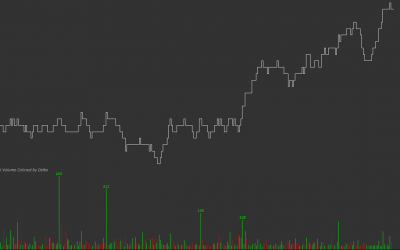
Volume Colored by Delta Study
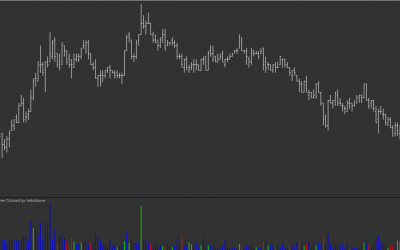
Volume Colored by Imbalance Study
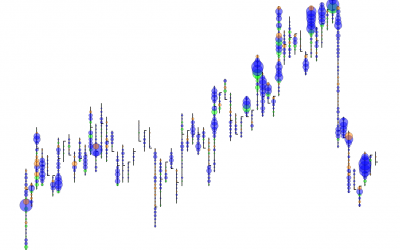
Volume Dots – LW Study
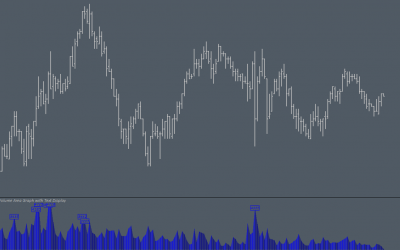
Volume Dots Study
Volume Range Ratio Ex Study
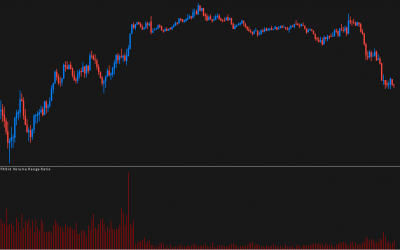
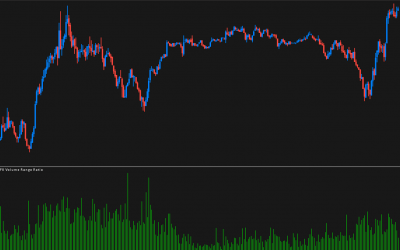
Volume Range Ratio Study
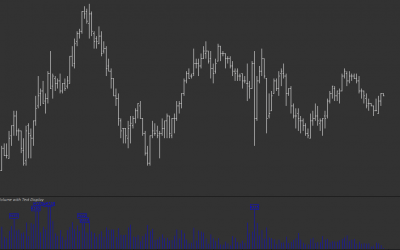
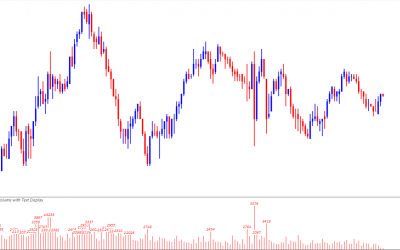
Volume with Text Display Study
Zero Print High Low Study
Zero Print Study
Zig Zag Ask Volume Study
Zig Zag Bid Volume Study
Zig Zag Box Study
Zig Zag Delta Signals Study
Zig Zag Delta Study
Zig Zag Oscillator Study
Zig Zag Retracement Study
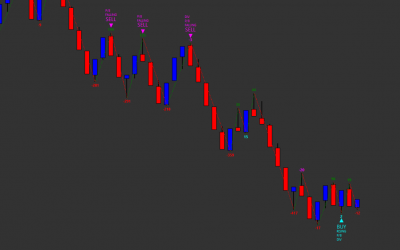
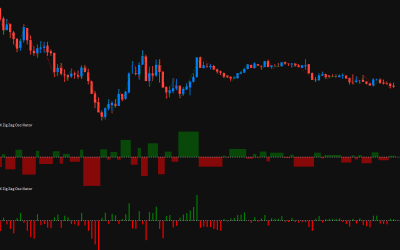
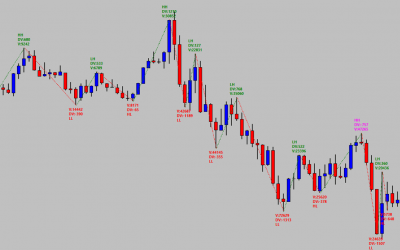
Zig Zag Study
Zig Zag Volume Study
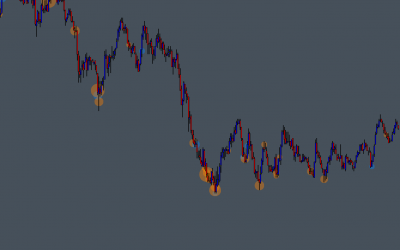
Absorption High Low Study
Absorption Study

Adjust Stop Target Study
Ask Bid Depth Imbalance Study
Ask Bid Depth Study
Ask Bid Pulling & Stacking Study
Ask Bid Volume Study
Ask Volume Area Graph with Text Display Study
Ask Volume at Price for Bars Study
Ask Volume Range Ratio Study
Ask Volume with Text Display Study
Bar Delta Basic Study
Bar Delta Imbalance Study
Bar Delta Study
Bar Delta Surge Study
Bid Volume Area Graph with Text Display Study
Bid Volume at Price for Bars Study
Bid Volume Range Ratio Study
Bid Volume with Text Display Study
Cumulative Delta – Time Period Study
Cumulative Delta Study
Cumulative Filtered Market Orders Study
Cumulative Filtered Stop Orders Study
Cumulative Large Orders Study
Cumulative Market Orders Study
Cumulative Stop Orders Study
Delta Colored Bars Study
Delta Colored Volume Study
Delta Dots – LW Study
Delta Dots Study
Delta Volume at Price for Bars Study
Delta Volume Information Grid Study
Guppy Multiple Moving Average Study
Imbalance High Low Study
Imbalance Study
Large Orders Study

Multiple Moving Averages Study
Pace of Tape Study
Pace of Trades Study

POC per Bar Moving Average Study
POC per Bar Study
Single Print High Low Study
Single Print Study
Stacked Ask Bid Volume Ex Study
Stacked Ask Bid Volume Study
Stop Orders Study
Swing Box Study
Swing Delta Study
Swing Volume Study
Taper Volume Study
Text Display for Study from Chart Study

Thin Prices Study
Total Volume at Price for Bars Study
Trade Pulse Bars Study

Trade Pulse Study

Trade Screen Shot Study
Trade Tape Chart Overlay Study
Trade Tape Chart Study
Trade Tape Ex Study
Trade Tape Study
Trade Tape Vertical Study
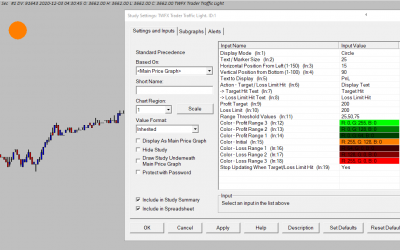
Trader Traffic Light Study
Unfinished Auctions Study
Value Area for Bars Ex Study
Value Area for Bars Filtered Study
Value Area for Bars Study
Volume Area Graph with Text Display Study
Volume at Price and Orderflow Study
Volume at Price for Bars Study
Volume Colored by Delta Study
Volume Colored by Imbalance Study
Volume Dots – LW Study
Volume Dots Study
Volume Range Ratio Ex Study
Volume Range Ratio Study
Volume with Text Display Study

Zero Print High Low Study
Zero Print Study
Zig Zag Ask Volume Study
Zig Zag Bid Volume Study
Zig Zag Box Study
Zig Zag Delta Signals Study
Zig Zag Delta Study
Zig Zag Oscillator Study

Zig Zag Retracement Study
Zig Zag Study